Managing orders involves overseeing the entire order lifecycle from placement to delivery. Proper order management ensures that orders are processed promptly, statuses are updated accurately, and customer communications are handled professionally.
Viewing Orders
- Access Order Dashboard:
- Log In to Admin Dashboard:
- Sign in to your admin area to access the order management features.
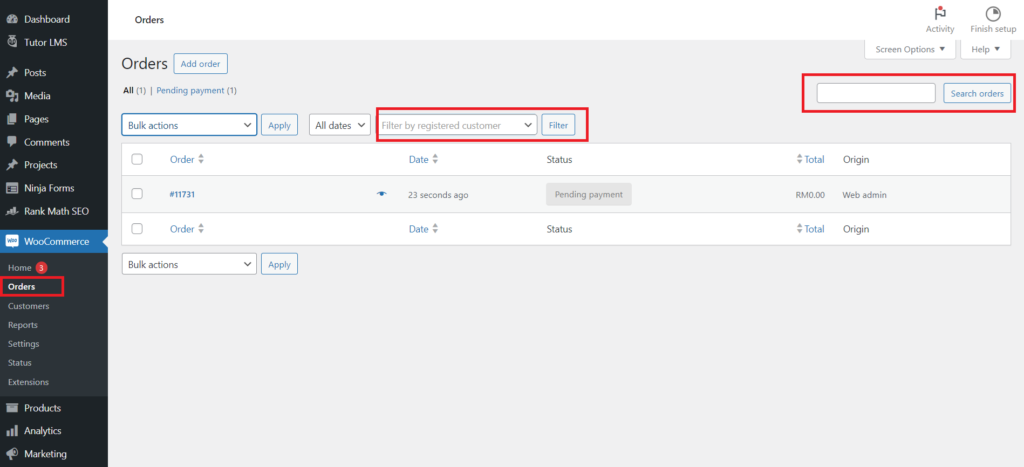
- Navigate to Orders Section:
- Go to the “Orders” section from the main navigation menu. This will display a list of all orders.
- Log In to Admin Dashboard:
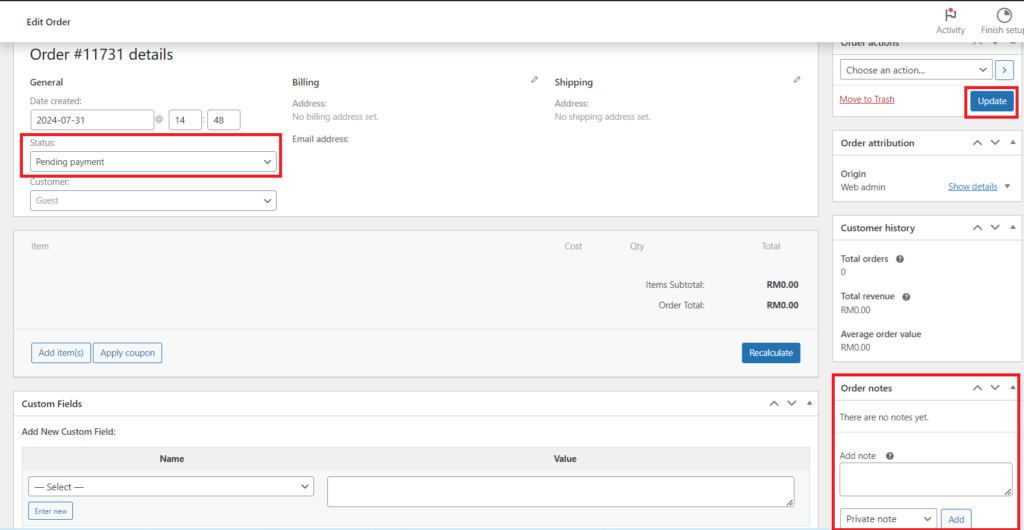
- View Order Details:
- Select an Order:
- Click on any order to view detailed information.
- Review Order Information:
- Examine details such as customer information, items purchased, payment status, and shipping details.
- Select an Order:
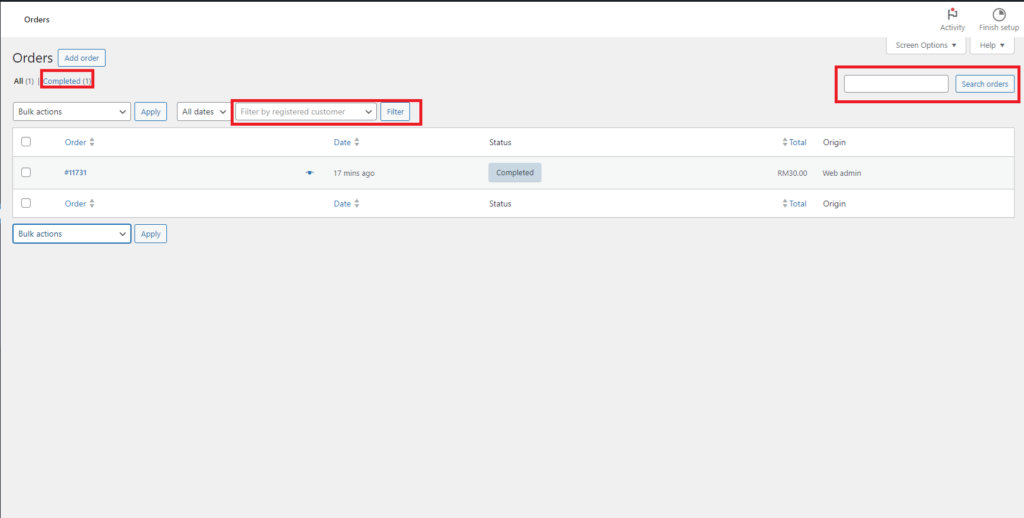
- Search and Filter Orders:
- Use Search Bar:
- Enter order numbers, customer names, or other identifiers in the search bar to locate specific orders.
- Apply Filters:
- Use available filters to sort orders by status, date range, or payment method for easier management.
- Use Search Bar:
Updating Order Status
- Access Order Status Options:
- Open Order:
- Click on the order you want to update to open its details.
- Find Status Dropdown:
- Locate the status dropdown menu or similar option within the order details.
- Open Order:
- Change Order Status:
- Select New Status:
- Choose the appropriate status from options such as “Processing,” “Shipped,” “Completed,” or “Cancelled.”
- Add Order Notes (Optional):
- Include any relevant notes or comments about the order status change.
- Select New Status:
- Save Changes:
- Update Status:
- Click “Save” or “Update” to apply the new status. This action may trigger notifications to the customer, depending on your settings.
- Update Status:
Managing Order Details
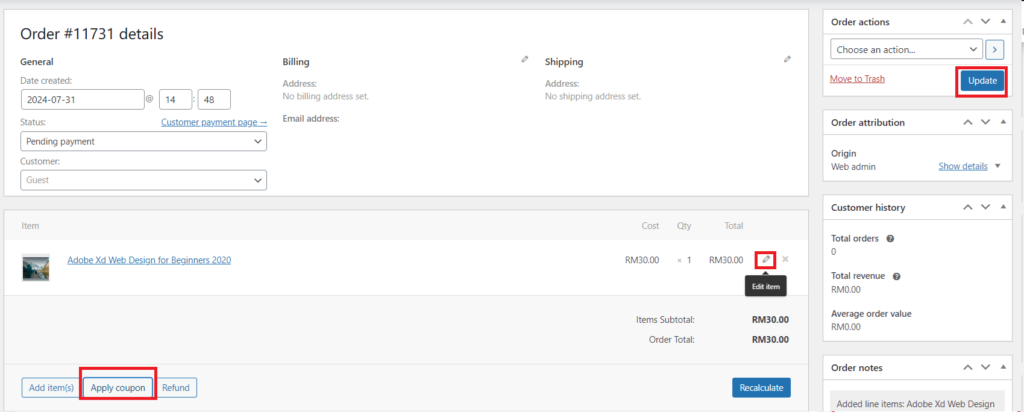
- Edit Order Information:
- Access Order Details:
- Open the order you wish to modify.
- Modify Items or Quantities:
- Change item quantities or add/remove items as needed. Ensure any adjustments reflect accurately in both the inventory and customer billing.
- Access Order Details:
- Apply Discounts or Adjustments:
- Add Discounts:
- Apply any relevant discounts or adjustments directly to the order total.
- Review Adjustments:
- Ensure all changes are correctly calculated and reflected in the final order total.
- Add Discounts:
- Save Updates:
- Confirm Changes:
- Click “Save” or “Update” to finalize any modifications made to the order details.
- Confirm Changes:
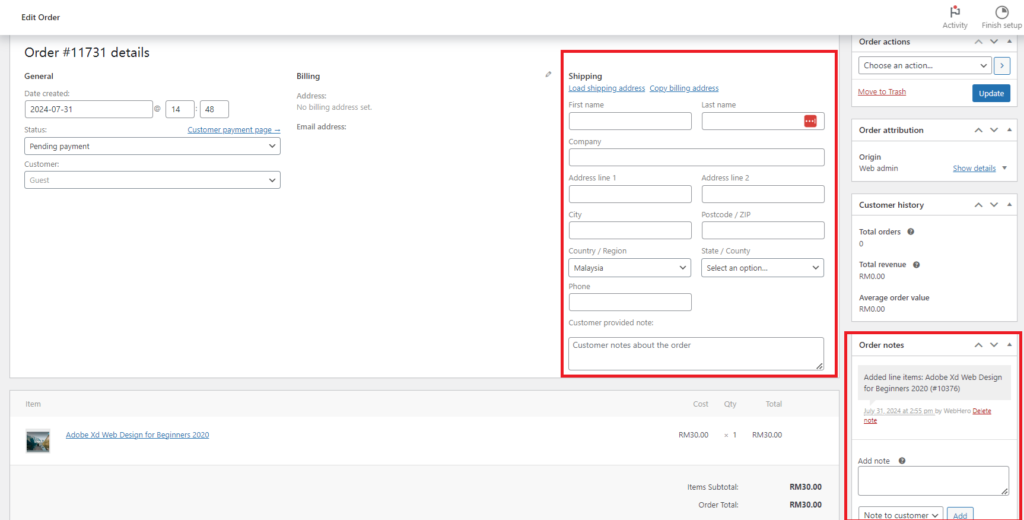
Updating Shipping Details Using Notes
- Access Shipping Details:
- Open Order:
- Navigate to the specific order whose shipping details you need to update.
- Locate Shipping Section:
- Find the shipping details area within the order view.
- Open Order:
- Add Shipping Notes:
- Click on “Add Note” or “Order Notes”:
- Look for an option to add a note or comment related to shipping. This feature is often found in the order details or notes section.
- Enter Shipping Information:
- Provide updated shipping information such as tracking numbers, carrier details, or any special instructions for the shipment.
- Click on “Add Note” or “Order Notes”:
- Save the Note:
- Apply Changes:
- Click “Save” or “Add Note” to record the updated shipping information.
- Apply Changes:
- What Happens Next:
- Internal Record Update:
- The shipping note will be added to the order’s internal record, visible to your team and the customer.
- Customer Notification:
- Depending on your settings, the customer may receive an automated email or notification with the updated shipping details.
- Order Tracking:
- If you include tracking information, the customer can use this to monitor the shipment’s progress.
- Internal Record Update:
Viewing and Filtering Order History
- Access Order History:
- Go to Orders Section:
- Navigate to the “Orders” area to view the complete order history.
- Review Past Orders:
- Browse through historical data to analyze past transactions.
- Go to Orders Section:
- Filter and Search Orders:
- Apply Filters:
- Use filters to narrow down the view by order status, date range, or customer details.
- Search for Specific Orders:
- Utilize the search bar to locate orders by keywords or identifiers.
- Apply Filters:
- Export Order Data:
- Download Reports:
- Export order data to CSV or other formats for offline analysis or record-keeping.
- Download Reports: