In this tutorial, we will show you how to create an email account in cPanel. This section is for advanced users who knows how to go around with cPanel.
Step 1: Login
Go to yourdomain.com/cpanel
Login to your cpanel using the username and password provided to you.
Step 2: Create an Email
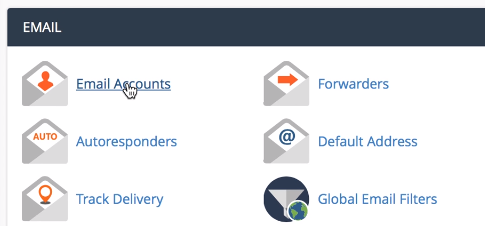
You don’t want to mess with the other settings of your cPanel, so scroll down directly to the Email Section and click Email Accounts.
You will be taken to the Add Email Account Screen.
- Just type in the Email address that you want to create in the Email field. (e.g. [email protected])
- If you have multiple domains, make sure you select the correct domain where you want to create a new email with.

- Key in your chosen password (we encourage that you use a randomly generated password for a stronger password strength. Make sure you remember/secure your password.)
- Re-type/Copy and Paste password
Click Create Account.
Step 3
Scroll down to Email Accounts.
If there are multiple emails, look for your newly created email using the search bar.
Once you find the email, click Set Up Mail Client.

You will be directed to Set Up Mail Client page. Scroll down to Mail Client Manual Settings.
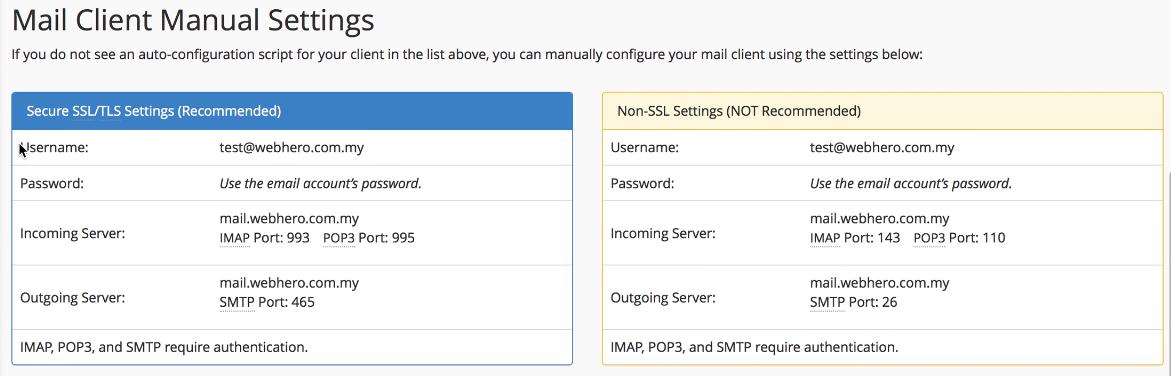
Copy the following from the Secure SSL/TLS Settings:
- Username
- Incoming Server (for the email use mail.yourdomain.com; POP3 Port: 995 will not be used, so just do not include that one.)
- Outgoing Server
You can use these details when logging in to your mail accounts on Webmail, Heromail, or Email Client.