This tutorial will show you how to add your own signature in your Apple mail.
Once you have setup your email account to your Apple mail, by default, there will be no signature. To set up your own signature, do the following steps:
Step 1: Setting Up
Go to Mail > Preferences
Select the mail account that you want to setup. Click the + button.

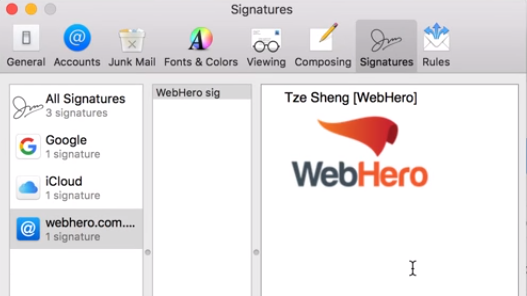
On the column next to the accounts, you can name/rename your signature.
On the last column (bigger one), that’s where you put your custom signature.
Step 2: Customizing Your Signature
You can use a default signature which is text only (Name, Company Name).
Or you can add an image/logo to it.
Adding an image
You can just drag your logo directly from your files to the column as shown:
- Make sure your logo size is not too big. Recommended height is not more than 120px. Recommended width is not more than 280px;
- Recommended file size for the logo is not more than 25kb.
Just close it and the next time you’re replying or composing an email, your signature will be shown.