How to Create Contact Forms
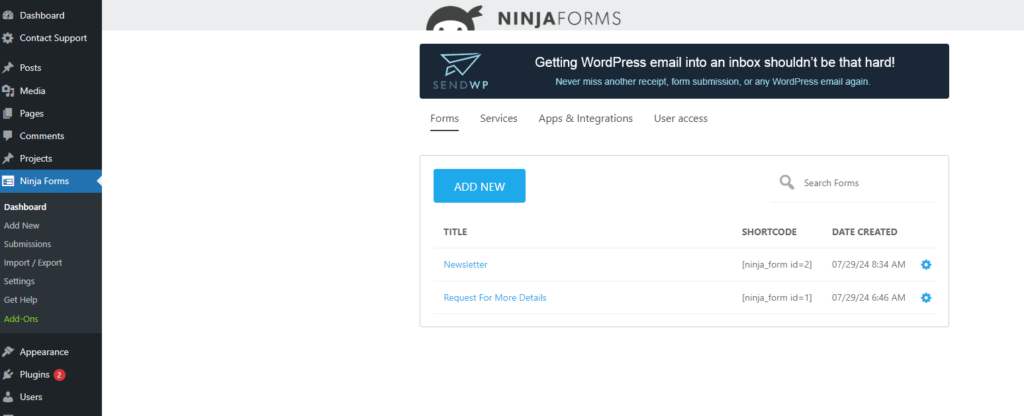
- Access Fluent Forms:
- Navigate to Forms:
- Go to your WordPress dashboard and select “Fluent Forms” from the menu.
- Navigate to Forms:
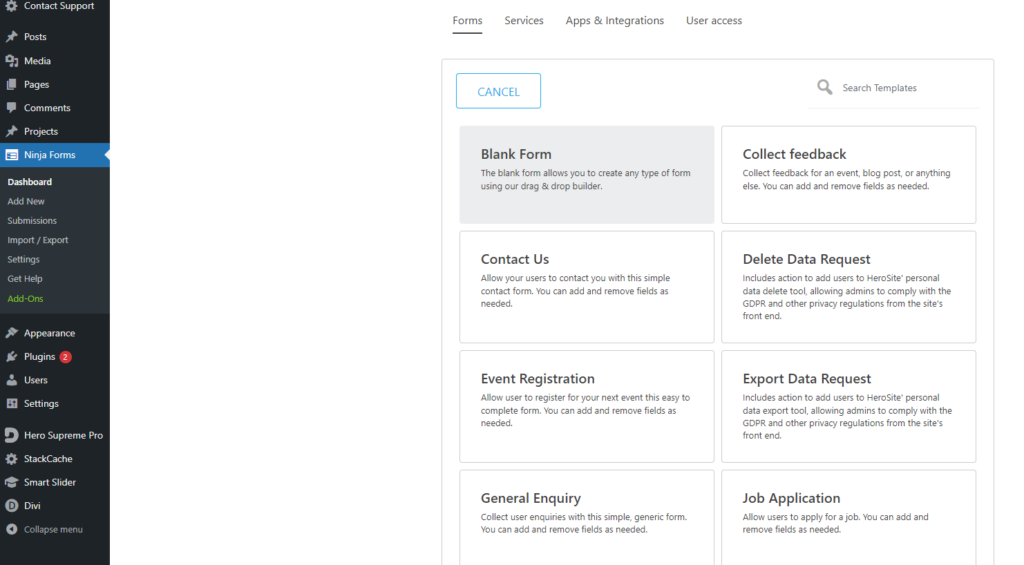
- Create a New Form:
- Click on Add New Form:
- Click the “Add New Form” button to start creating a new form.
- Choose a Template:
- Select a pre-built template or start with a blank form, depending on your needs.
- Click on Add New Form:
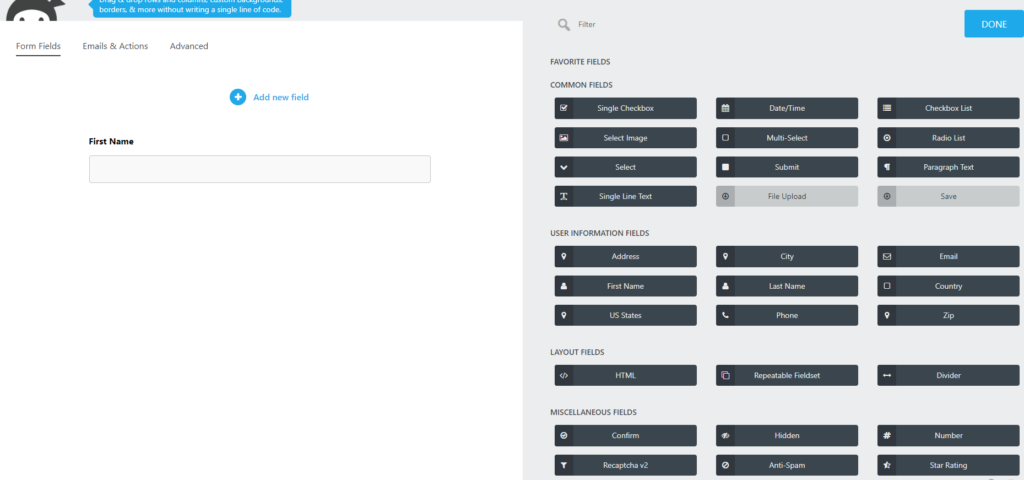
- Design Your Form:
- Add Form Fields:
- Use the drag-and-drop builder to add fields such as Name, Email, Phone Number, and Message.
- Configure Field Settings:
- Click on each field to adjust settings like labels, placeholders, and validation rules.
- Customize Form Layout:
- Arrange the fields and customize the form layout to fit your design preferences.
- Add Form Fields:
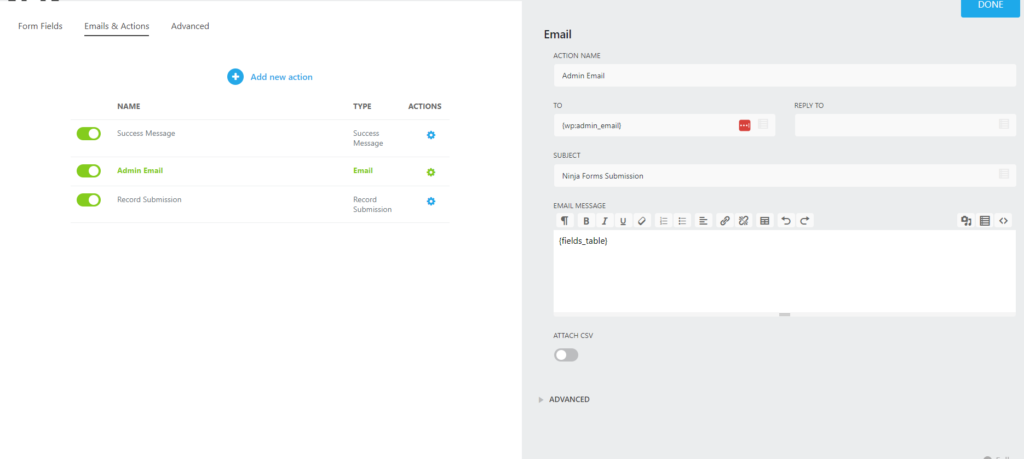
- Set Up Form Notifications:
- Configure Email Notifications:
- Go to the “Settings” tab and select “Notifications.” Set up email notifications to receive form submissions and configure who should receive them.
- Configure Email Notifications:
- Save and Publish:
- Save Your Form:
- Click “Save” to store your form.
- Publish Your Form:
- Use the provided shortcode or block to add the form to your desired page or post.
- Save Your Form:
How to View Form Submissions
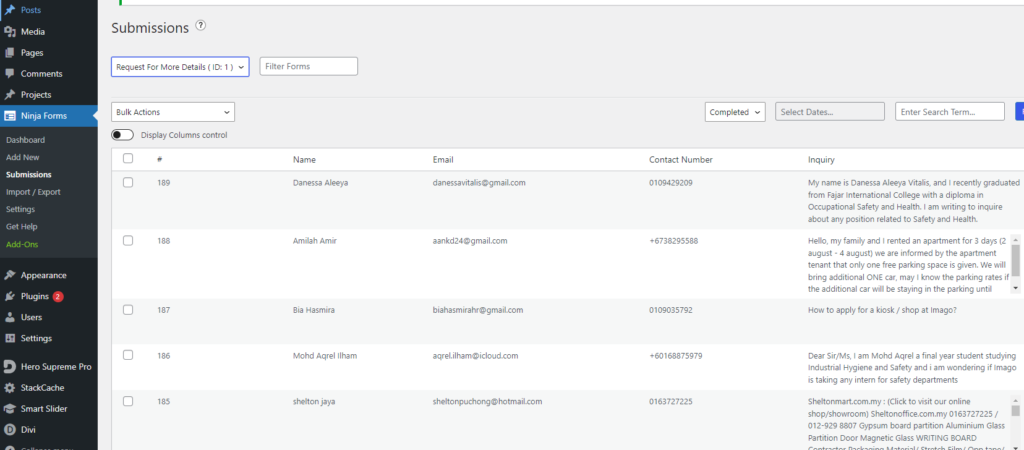
- Access Form Submissions:
- Navigate to Submissions:
- Go to your WordPress dashboard and select “Fluent Forms” > “Submissions.”
- Navigate to Submissions:
- Select a Form:
- Choose the Form:
- From the list of forms, select the one you want to view submissions for.
- Choose the Form:
- View Submissions:
- Browse Submissions:
- View individual submissions listed. You can filter by date, search for specific entries, or export the data as needed.
- Browse Submissions:
- Manage Submissions:
- Export Data:
- Use the export options to download form submission data in CSV format if needed.
- Delete or Archive Entries:
- Delete or archive submissions as necessary to keep your data organized.
- Export Data: