Auto Responder is a cPanel mail feature that can be configured to automatically send predefined response messages to anyone who sends mail to a particular inbox.
Steps in Creating an Autoresponder in cPanel
To configure Autoresponder to send automatic replies from an email address on your domain:
STEP 1. Log in to cPanel.
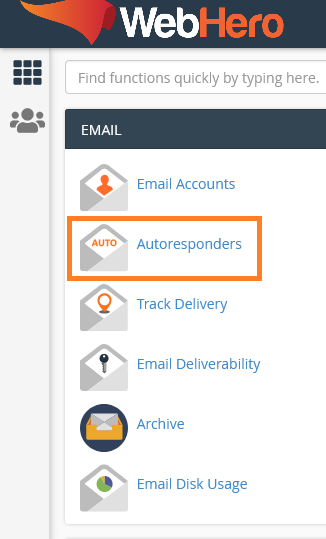
STEP 2. In the Email section, click on the Autoresponders icon.
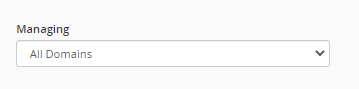
STEP 3. Under Managing, search for the domain where you are setting up the autoresponder.
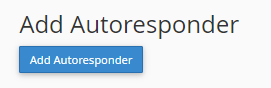
STEP 4. Click Add Auto Responder.
STEP 5. In the Character Set drop-down menu, select a character set for the email. (UTF-8 is the most commonly used and recommended.)

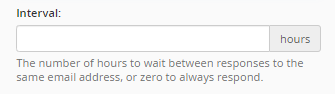
STEP 6. In the Interval field, specify the number of hours you wish for the autoresponder to wait between responses to the same email address. (In other words, how long it waits to reply with a second auto-response to the same sender. This way, if the same person emails you multiple times, they don’t instantly get multiple auto-replies.).
STEP 7. In the Email field, type the beginning part of the email address you wish to create an Auto Responder.
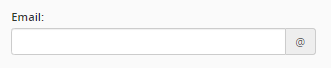
STEP 8. In the adjacent drop-down menu, select the Domain for the email address.

STEP 9. In the From field, enter the name that the auto-response will be from.

STEP 10. In the Subject field, provide the subject you would like the Auto Responder to contain.
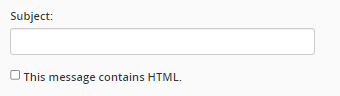
STEP 11. Click the HTML checkbox if the body of the email will contain HTML. If you leave it unchecked, HTML tags will show up as plain text in the auto-response.
STEP 12. In the Body field, provide the message you wish to send in the Auto Responder. You can use tags to insert information:
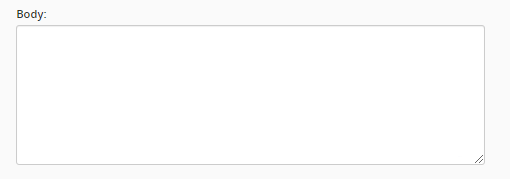
- %subject% – displays the subject in the body of the email
- %from% – shows the name of the sender Auto Responder is replying to
- %email% – shows the sender’s email address
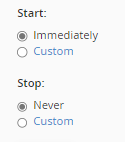
STEP 13. Select a Start and Stop time.
STEP 14. Click Create/Modify.
