Changing your menu navigation is very simple. In this guide, we will explain step by step how you can change a menu in your website.
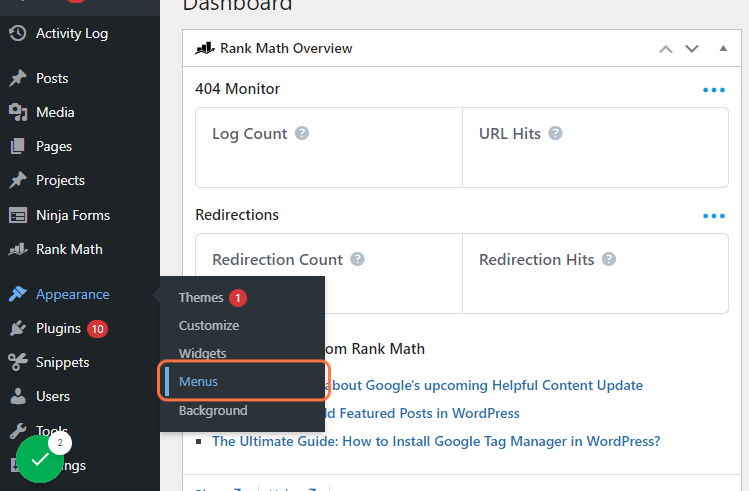
- Access Menus:
- Go to the WordPress dashboard, hover over “Appearance,” and select “Menus.”
- Select a Menu:
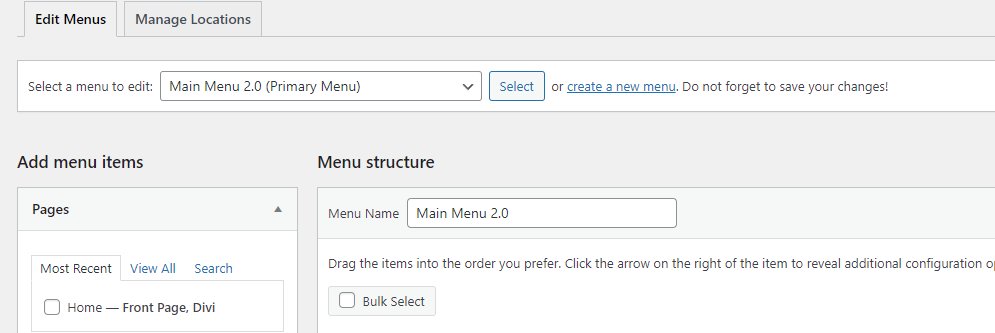
- Choose the menu you want to edit from the dropdown list and click “Select.”

- Add Items:
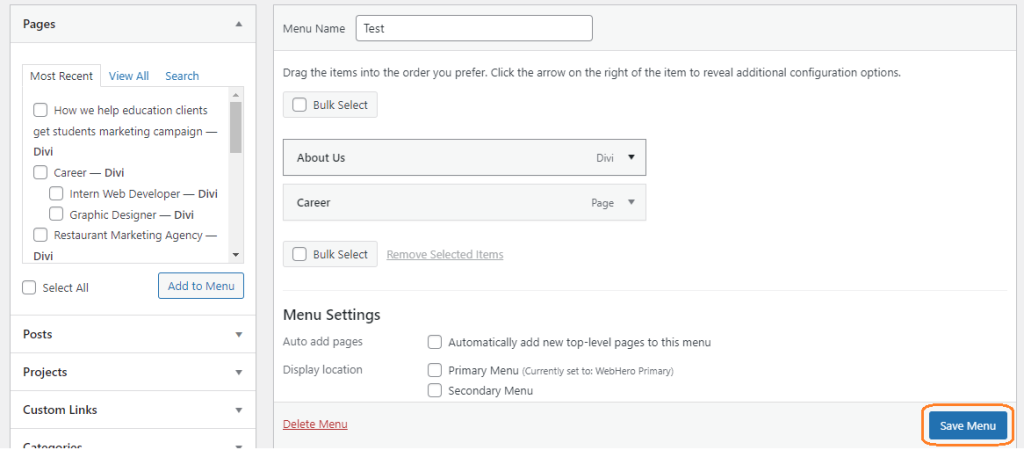
- Use the options on the left to add pages, posts, custom links, or categories. Check the items you want and click “Add to Menu.”


- Organize Menu Items:
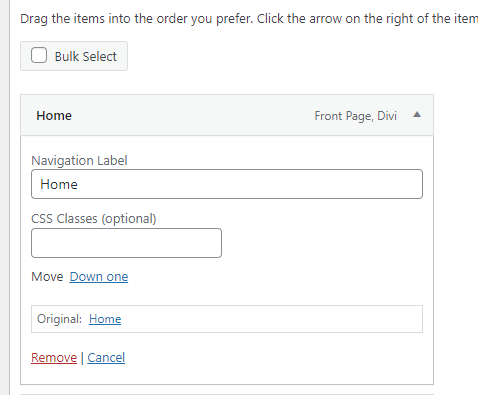
- Drag and drop items to rearrange them or nest them to create sub-menus. Click the arrow on the right of each item to edit its label.
- Remove Items:
- Expand the item you want to remove and click “Remove.”
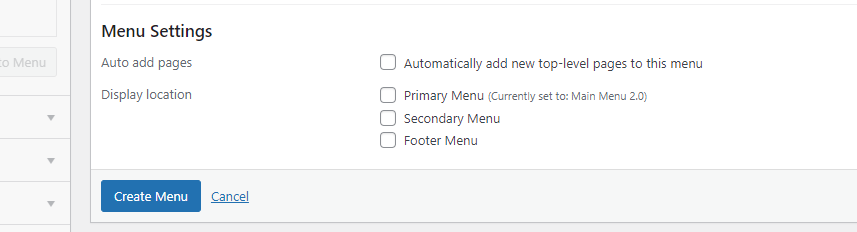
- Set Menu Location:
- At the bottom, check the box to assign the menu to a specific location (e.g., Primary Menu).
- Save Menu:
- Click “Save Menu” to apply your changes.
How to Create a New Menu
- Go to Menus:
- Navigate to “Appearance” > “Menus.”
- Create New Menu:
- Click “create a new menu,” enter a name, and click “Create Menu.”
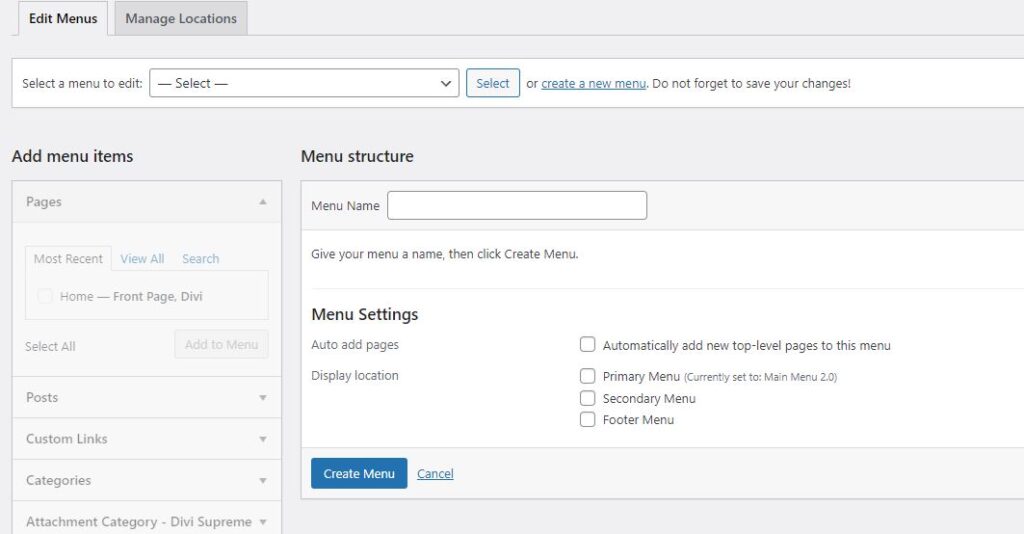
- Add Items:
- Select pages, posts, or links from the left and click “Add to Menu.”
- Organize and Customize:
- Rearrange items by dragging them. Edit labels and URLs by expanding each item.
- Assign Menu Location:
- Choose where the menu should appear under “Menu Settings.”
- Save Menu:
- Click “Save Menu” to finalize your changes.