Product management is crucial for maintaining a well-organized and efficient online store. It involves overseeing the entire lifecycle of your products, from creation to sale, ensuring that your inventory is accurately represented and accessible. Effective product management helps optimize listings, streamline inventory, and enhance the overall shopping experience.
Product Setup
Adding Products
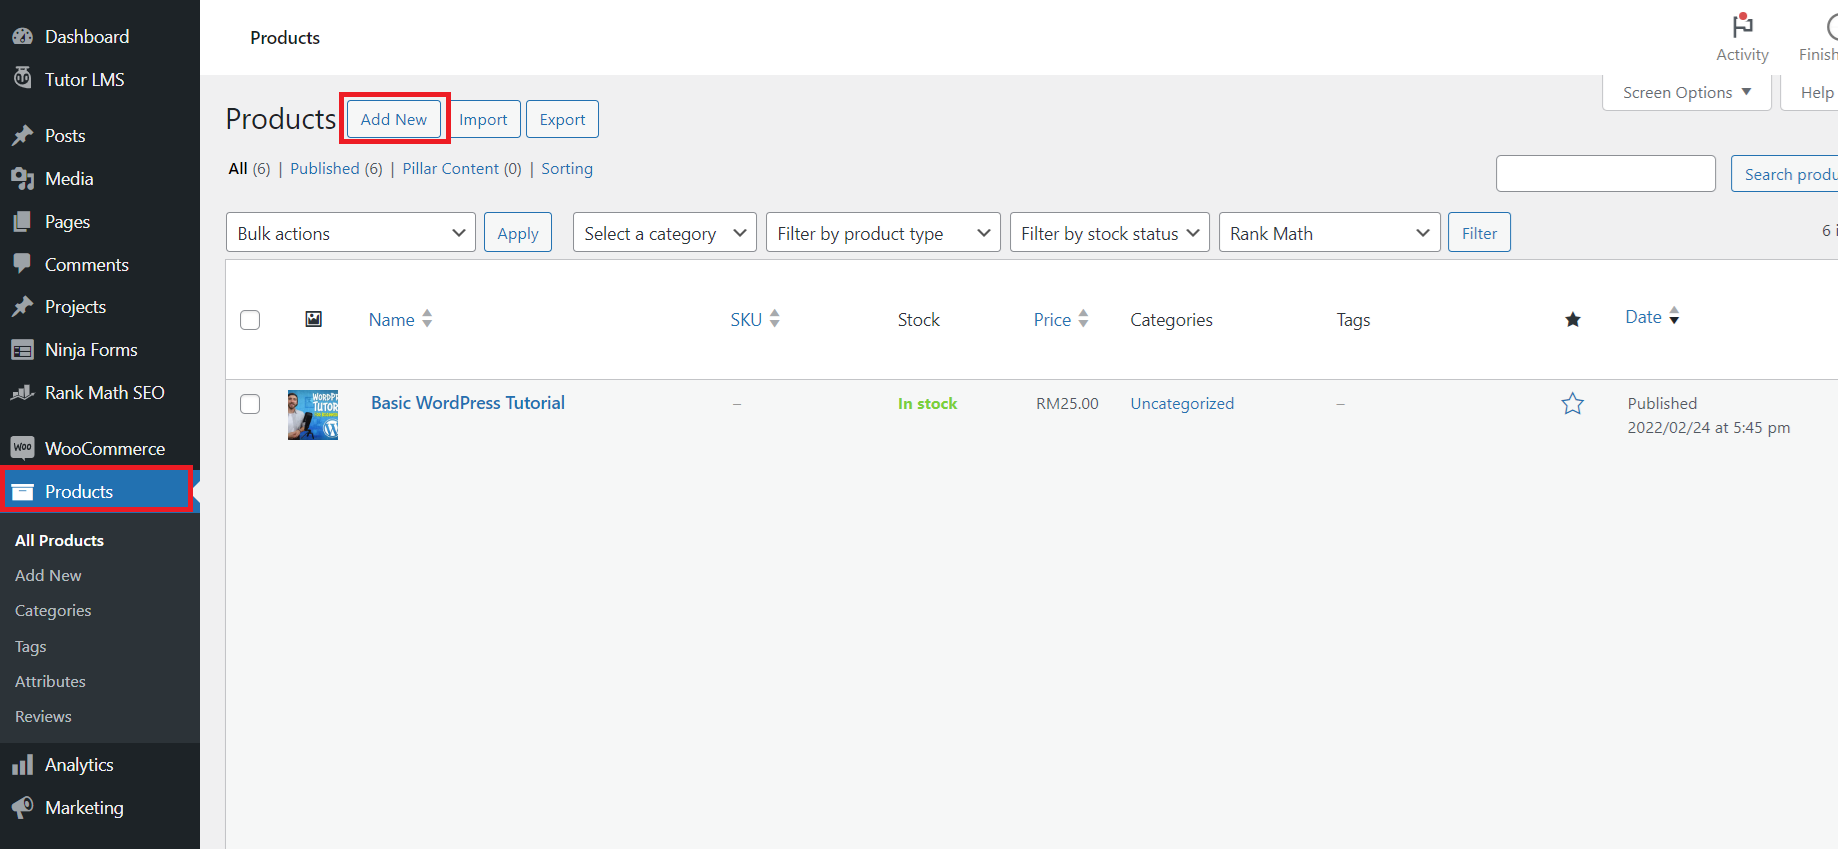
- Access the Product Management Section:
- Navigate to your admin dashboard and locate the “Products” section.
- Click “Add New” or a similar option to begin adding a new product.
- Add Product Details:
- Enter Product Information: Fill in the product name, description, and any other relevant details such as price and SKU.
- Upload Images: Add high-quality images of the product from various angles to showcase it effectively.
- Select Category: Choose an appropriate category and tags to help customers find your product easily.
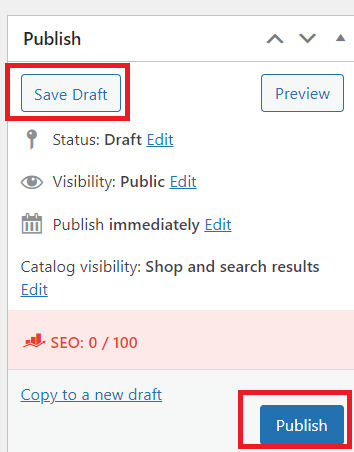
- Save or Publish Product:
- Save Draft: Click “Save” if you want to save the product as a draft and make further changes later.
- Publish: Click “Publish” to make the product live on your store.
Editing Products
- Navigate to Products List:
- Go to the “Products” section in your admin dashboard and select the product you want to edit.
- Make Changes:
- Update Details: Modify product information such as name, description, price, or images.
- Adjust Stock Levels: Update inventory quantities as needed.
- Edit Categories or Tags: Change the product’s category or tags to better match customer search terms.
- Save Changes:
- Click “Update” to apply the changes and save the updated product information.
Deleting Products
- Access Product List:
- Go to the “Products” section and find the product you wish to delete.
- Delete Product:
- Select Product: Click on the product you want to remove.
- Delete Option: Choose “Delete” from the options and confirm the action to permanently remove the product from your store.
Product Variants and Attributes
Managing Product Variants
- Access Product Variants:
- Open Product Detail Page: In your admin dashboard, go to the “Products” section and select the product you want to manage.
- Locate Variants Section: Find the “Variants” tab or section within the product details.
- Add New Variant:
- Click “Add Variant”: Look for the option to add a new variant, often labeled as “Add Variant” or “Add Variation.”
- Specify Details: Enter details for the new variant. For instance, if selling a T-shirt:
- Size: Small, Medium, Large
- Color: Red, Blue, Green
- Set Additional Options: Depending on your platform, you might set:
- Price: Assign a different price for each variant.
- SKU: Assign unique SKUs for inventory tracking.
- Stock Quantity: Specify stock levels for each size/color combination.
- Update Variants:
- Edit Existing Variants: Click on a variant to make changes, such as adjusting prices or updating stock levels.
- Remove Variants: To delete a variant, select “Remove” or “Delete” next to the variant you wish to remove.
Setting Up Product Attributes
- Open Attributes Section:
- Navigate to Attributes Area: Find the “Attributes” section within the product management page.
- Add New Attribute:
- Click “Add Attribute”: Select the option to add a new attribute.
- Input Attribute Details:
- Attribute Name: For example, “Material.”
- Attribute Values: List possible values, such as “Cotton,” “Polyester.”
- Additional Attributes: Add other relevant attributes like:
- Fit: “Regular,” “Slim,” “Loose.”
- Care Instructions: “Machine wash cold,” “Dry clean only.”
- Apply Attributes:
- Assign Attributes: Check the boxes or select values to apply these attributes to the product.
- Save Changes: Click “Save” or “Update” to apply the attributes to your product listing.
Example Scenario:
For a T-shirt product, follow these steps:
- Product: Classic T-shirt
- Variants:
- Size: Small, Medium, Large
- Color: Red, Blue, Green
- Add Variant:
- Create a variant for “Red” + “Medium” with a price of $20 and stock quantity of 50.
- Set Attribute:
- Add “Material” attribute with values “Cotton” and “Polyester.” Assign these to the T-shirt product.
- Update Variant:
- Adjust the stock quantity for “Red” + “Medium” as needed or modify the price for promotional reasons.
Best Practices
Tips for Optimizing Product Listings
- Use High-Quality Images:
- Ensure that images are clear and high-resolution. Provide multiple views of the product to give customers a comprehensive view.
- Write Detailed Descriptions:
- Include thorough product descriptions highlighting key features, benefits, and specifications. Use bullet points for easy readability.
- Optimize for SEO:
- Incorporate relevant keywords into product titles, descriptions, and metadata to improve search engine visibility.
- Regularly Update Listings:
- Periodically review and update product information to ensure accuracy and relevance. Adjust prices, stock levels, and descriptions as needed.
Video Tutorial
Watch our comprehensive video tutorial for a visual guide on managing products. This video covers all aspects of product management, including adding, editing, and deleting products, handling product variants and attributes, and utilizing bulk management tools effectively.
T